Programming by Demonstration (PbD)


Robot programming by demonstration is a technique for teaching a robot how to perform tasks instead of programming it through lines of code. This is intended to help users that do not have the programming skills (or the time) to program a robot. Demonstrating how to accomplish the task with examples allows one to teach the robot without specifically programming each detail. An AR environment for PbD is used in our project. Here, path following operations were taught by kinesthetics teaching. Thus, a tracker labelled sphere (target sphere) was used as a demonstration tool.

Programming the Dobot Magician by Demonstration using the VARobot Framework

Steps involved:

  1. Move the target sphere to a desired position.
  2. Click the ‘Move Robot To’ button.
  3. Click on the ‘Make’ button.
  4. Code is compiled and waypoints are created.
  5. Repeat step 1- 4 to create more waypoints.

The coordinates of the waypoints are displayed on the AR DoBot code panel.

The Compact UI Design and Development


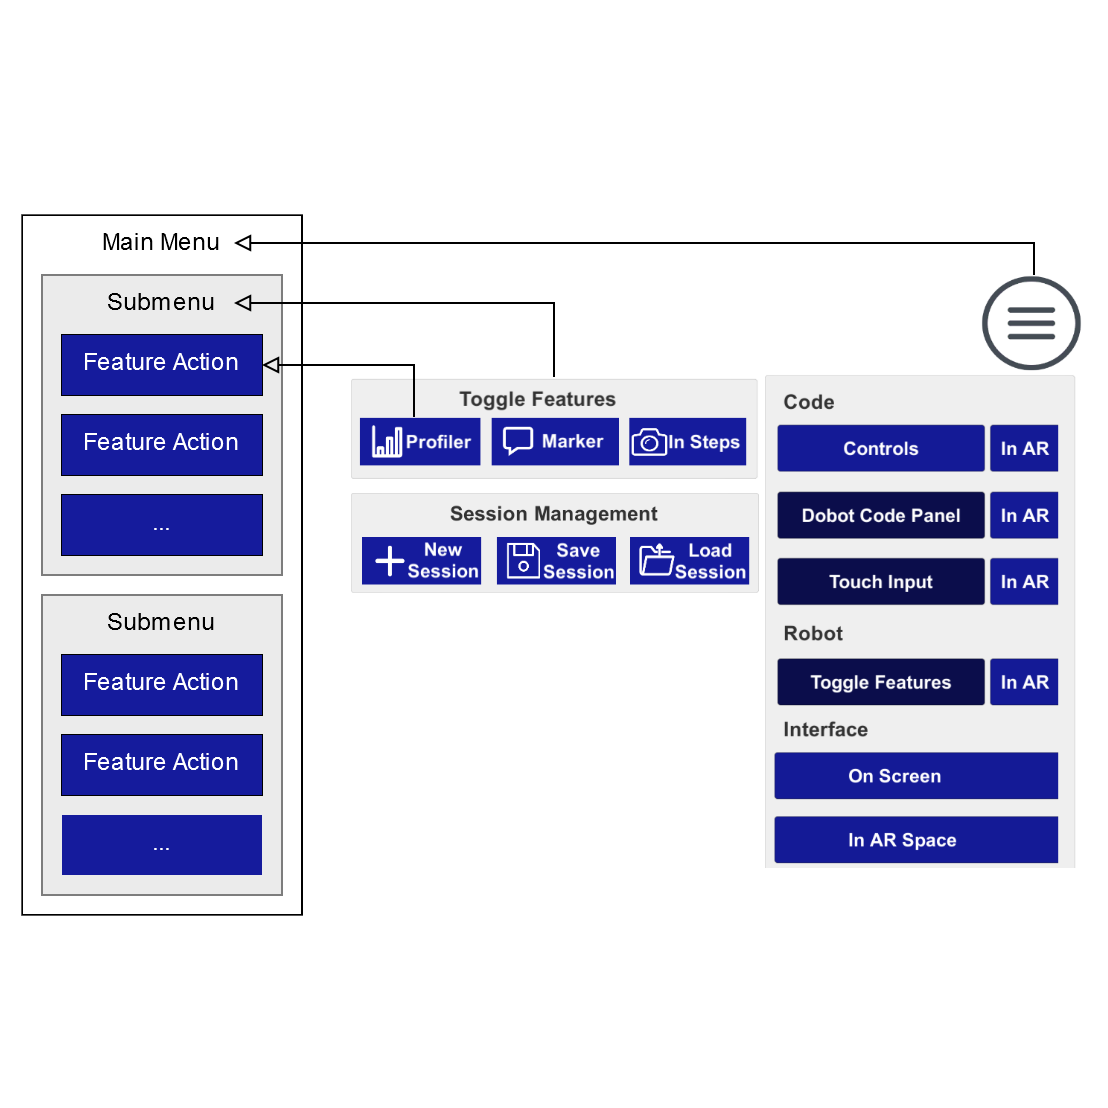
The project group VARobot has adopted a framework, which was originally developed for a master thesis and was based on HoloLens AR technology. It was planned to be extended for use in handheld smart devices such as smartphones and tablets. This required special attention to the available user interface (UI) originally designed for use on the HoloLens only. However, as we intend to extend the current framework to also be usable on smartphones or tablets, a compact UI design is a must for such requirements. The size of screen poses the greatest challenge in displaying all the features and functionalities available in a rather large space spanned via the HoloLens. We redesigned the entire UI meant for the on-screen display and yet have an element of continuity and uniformity with the AR space UI features and options. Therefore, we have a hierarchical scheme adopted for the on-screen UI.

Hierarchical scheme adopted for the on-screen UI

Main Menu


The main menu can be easily accessed by simply tapping on the icon present on the top-right corner of the device screen. It is designed to hold all submenu items which in turn will hold up all features portrayed over the AR space. Apart from that, it holds additional options too. It contains a ‘Debug’ mode button which is specially meant for running the application in debug mode and / or running mode. The main menu contains a special session management feature which enables us to save the current scene as it is and then safely navigate to other scenes as and when required without the need to restart the application all over again. This is to safely handle and operate multiple scenes presented in the application. The main menu supports a scrollable menu and maintains a safe screen occupying ratio. Each of the submenu options carries an AR toggle button which can then immediately send the sub-menu item to AR space from screen space and vice versa. This operation can be carried out collectively for all sub-menu items or individually. The sub-menu items and special functions are all categorised for ease of understandability.
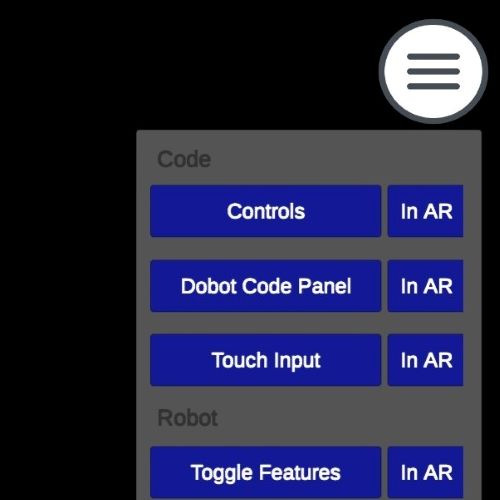
Main menu panel with sub-menu functions

Sub-Menu


Each sub-menu has been carefully designed to maintain uniformity with AR space sub-menu items. It has been kept in mind that a user gets driven by an intuition to operate the functionalities in on-screen as it is in AR space. For this purpose, we have matched the style and colors to that of the AR space sub-menu items. The arrangement of the sub-menu items has been done to address two things. Firstly, it maintains a presentation that does not hinder the view of the robot actions and secondly, it provides a compact glimpse of the features in continuity with the AR space. The icons representing the features in sub-menu items have been improved overtime to point at a more accurate action that the button is meant to handle in the application or specifically the scene.

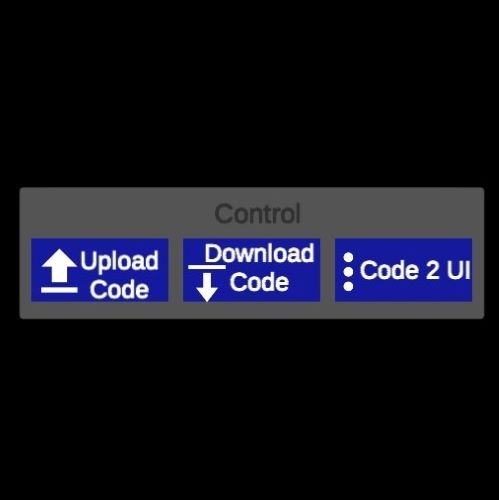
On-Screen Control Panel for NXT robot

Touch Input


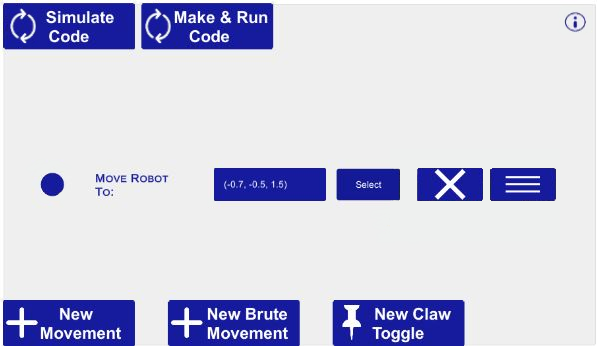
The feature ‘Touch Input’ needs a special mention as we use this feature to actually operate the robots in the concerned scenes. It can be accessed via tapping the ‘Touch Input’ option available in the list of ‘Main’ menu. The on-screen version of this feature is somewhat different from the AR space version. It is due to the required compactness that has to be addressed on-screen. While the AR version is capable of moving each command via the dedicated upward or downward buttons, the on-screen version is capable of managing this just by dragging the command to the position that the user wants. The on-screen version is capable of adding different types of commands specifically meant for the corresponding robots via the dedicated named buttons inside the ‘Touch Input’ panel. This action can be carried out in the AR space version by tapping on the dedicated ‘+’ button that is painted in the syntax color of the corresponding command. The movement buttons (both upward and downward) and the command addition buttons are included with each line of the commands in AR space.

On-screen Touch Input

Code Panel


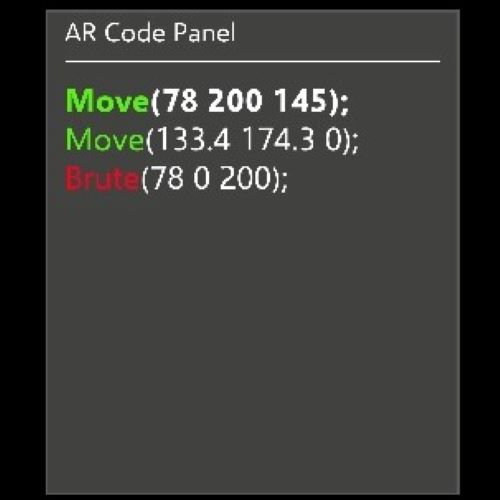
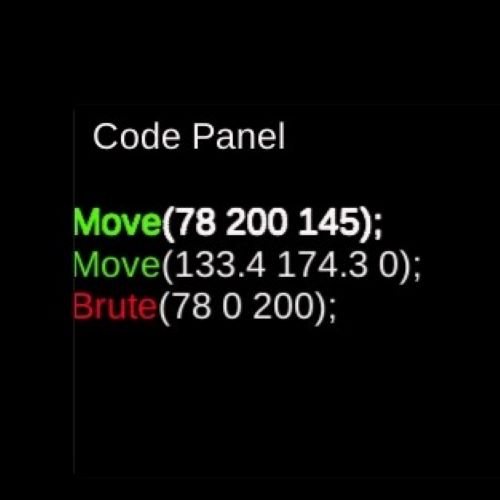
Code panel can be accessed via tapping the ‘Code Panel’ option available in the list of ‘Main’ menu. It is meant to display the commands while executing them on the concerned robot. The commands from the ‘Touch Input’ panel are passed to the ‘Code’ panel after tapping on the ‘Make&Run’ button present on both the AR and on-screen version of ‘Touch Input’ panel. The commands are additionally displayed in its respective syntax color which is uniform over both the AR space and on-screen. This again triggers the intuition of the user to use the required commands specially via the AR space ‘Touch Input’ panel.

In AR Code Panel

On-screen Code Panel

Preferences


Although the UI design has been created with as many considerations as was possible, change is inevitable. With this concept in mind, the entire compact UI design and extension can be easily configured using Unity game engine. The syntax colors introduced for commands can be configured and changed as and when required, with minimal effort. The AR space command addition button colors can be correspondingly modified to match any new changes in syntax colors of the commands. The button icons and button color can also be easily modified. The total arrangement of the UI panels and features can have alternate orientations as required with possible introductions of new features in the future.
Since the application also presents multiple scenes meant for different robots, we have the variants for the same sub-menu items which are tailored for the corresponding scene and the corresponding robots.

On-screen Control Panel for Lego Mindstorms NXT

On-screen Control Panel for Dobot Magician